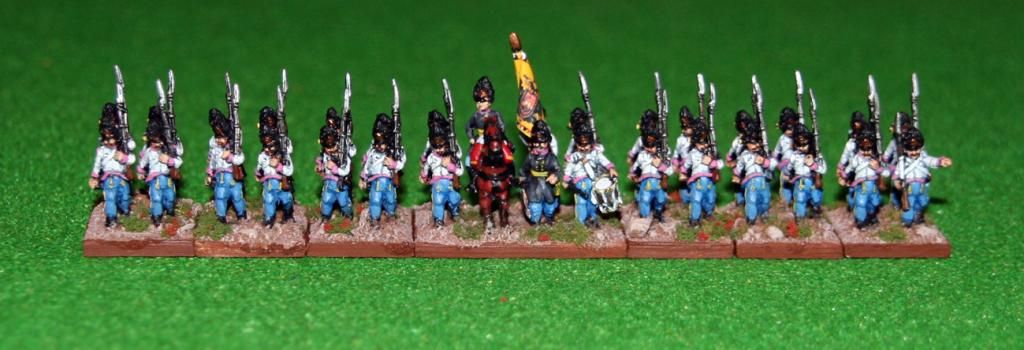
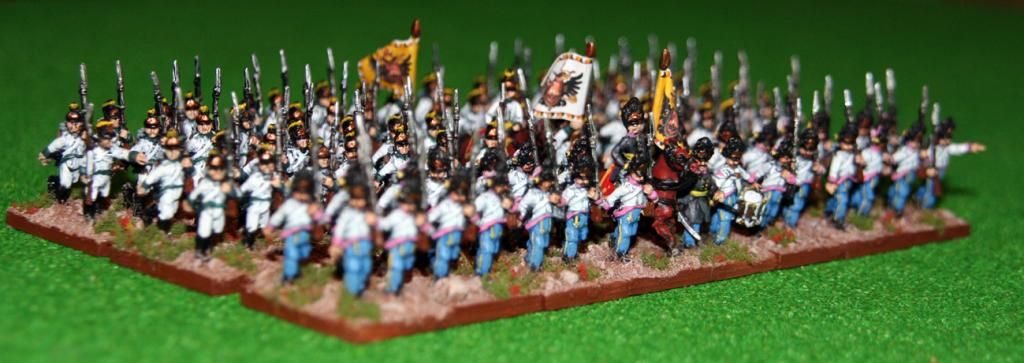
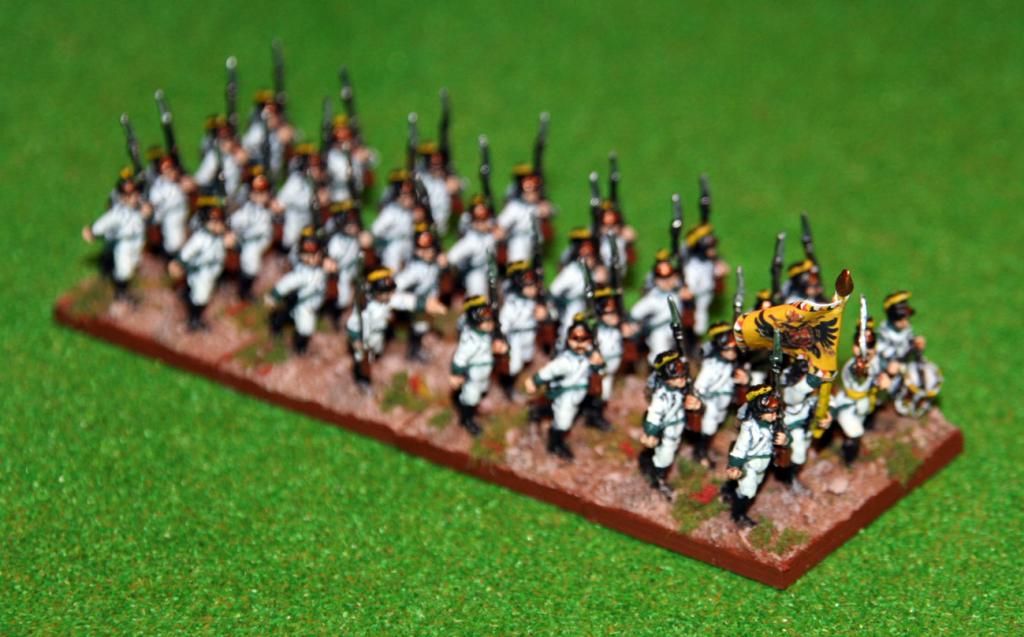
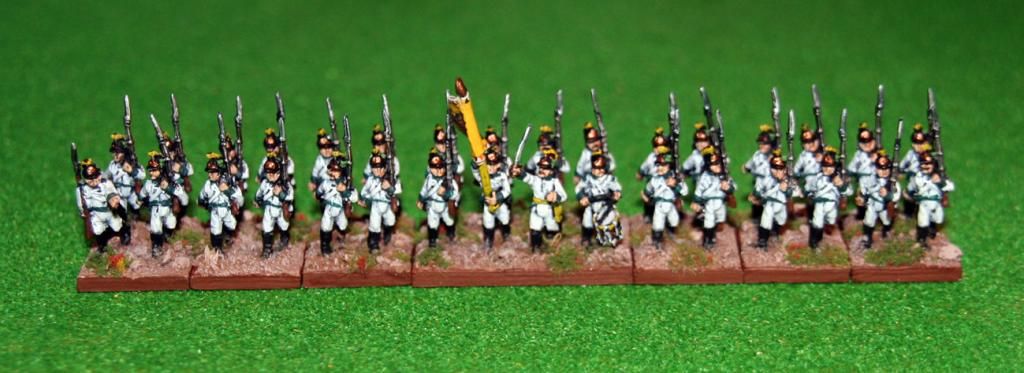
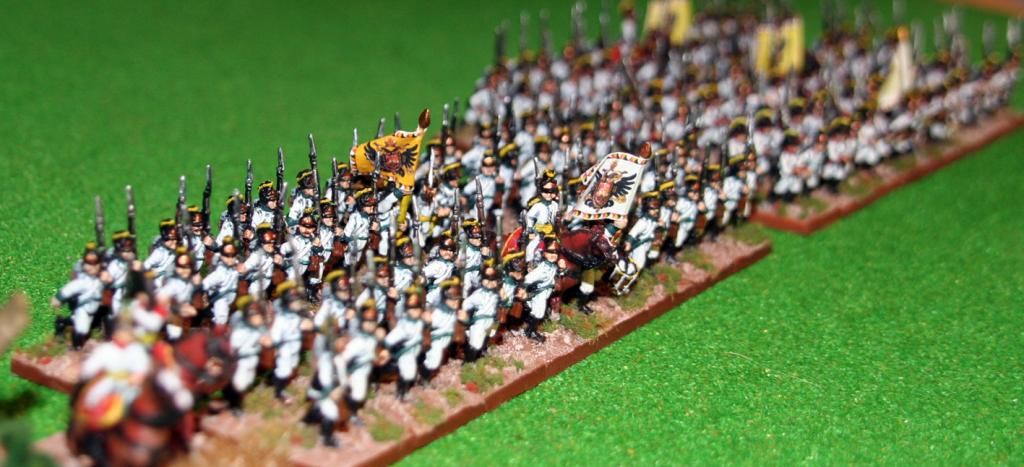
For my Austrian army at Marengo, I require four battalions of Grenadiers. This first one, like all Grenadier Battalions was created from the Grenadier companies of the regiments present in the division. Therefore the facing colours could vary within the Grenadier Battalion dependent on which regiments the companies were drawn from.
The Austrian Hungarian Regiments present at Marengo were IR52 Anton and IR53 Jellacic. Both these Regiments had the same colour of facings, but with different coloured buttons, and as I'm painting 15mm scale figures, I'll not be attempting to paint buttons unless really necessary. So this Battalion has consistent facing colouring throughout the miniatures.
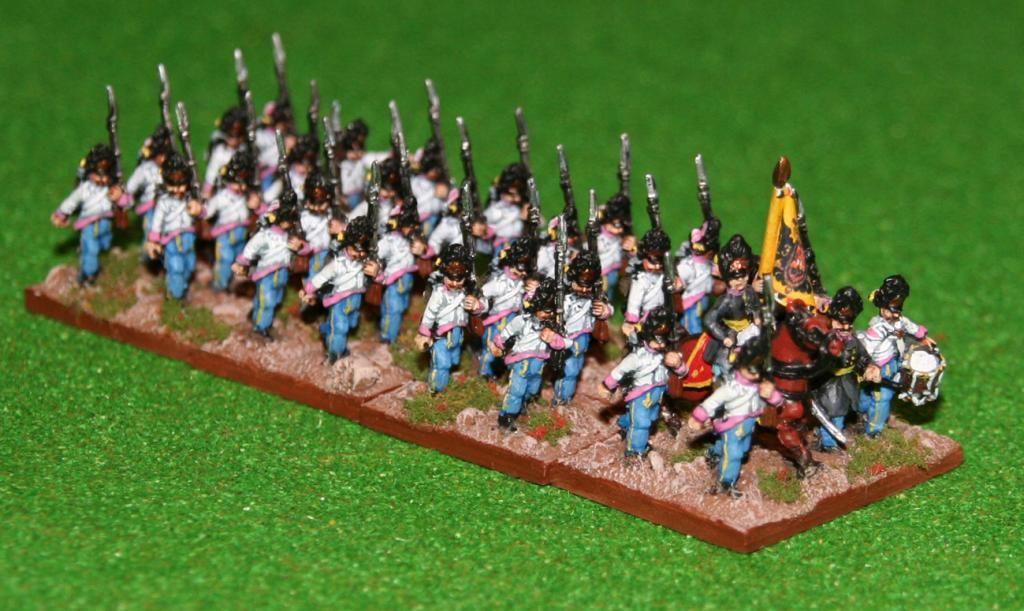
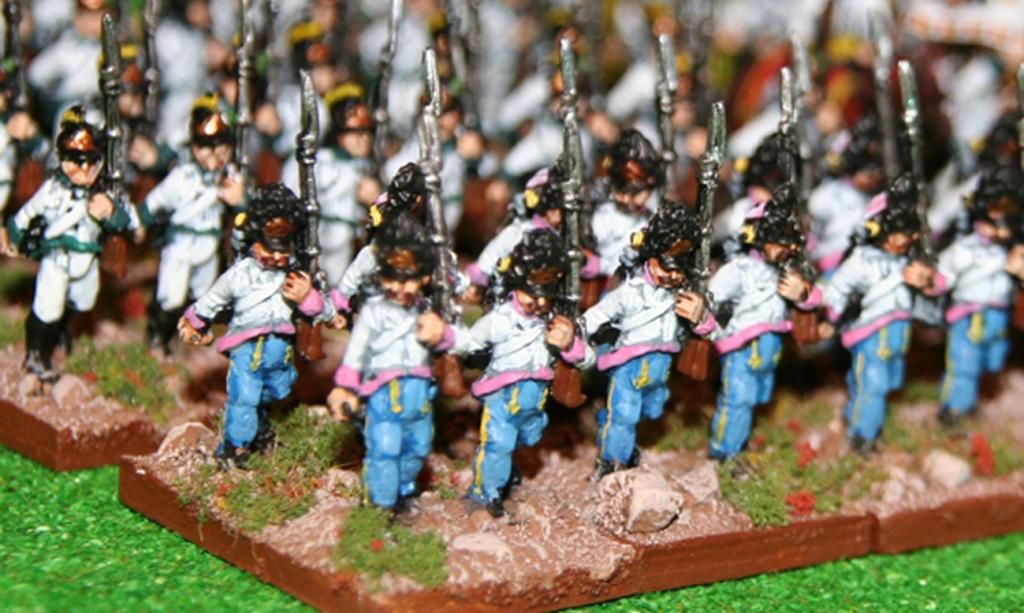
The figures are from Blue Moon, and as usual are very well cast, with tons of character. The detail on these is superb, from the back of the fur cap showing the proper bag-like material that other companies seem to miss, to the raised piping down the legs of the Hungarian breeches. They were a joy to paint - though I did feel I was going nowhere with the unit for a while, painting the white, the blue, then the yellow, then the pink, before even doing the packs and muskets! How many colours can one unit have?
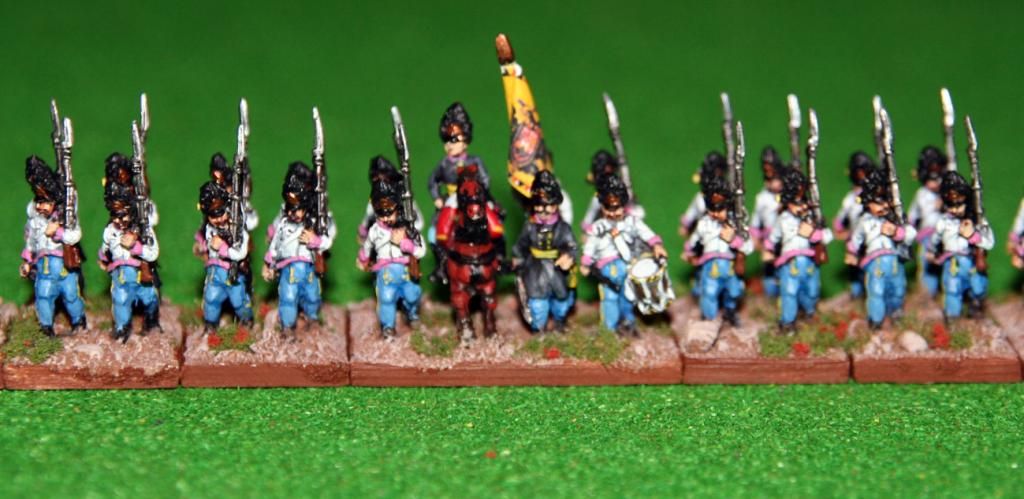
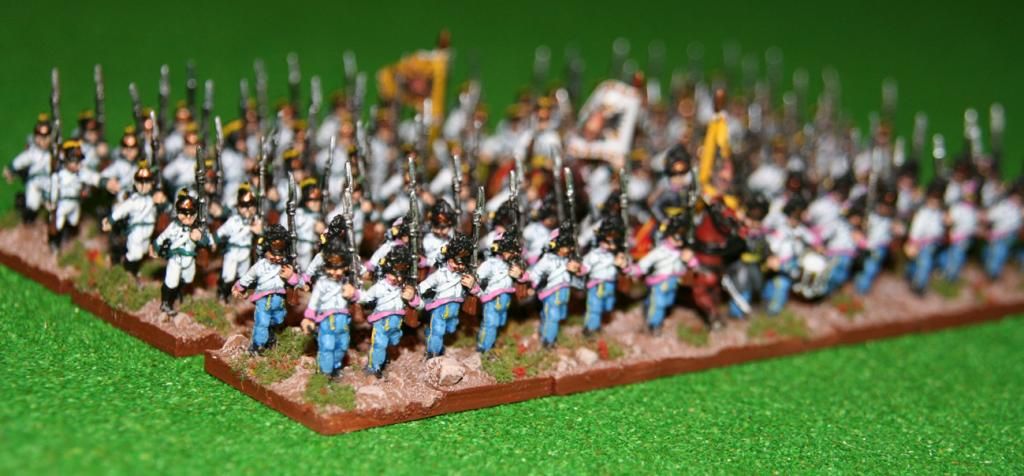
These figure look great when finished, and when seen standing alongside my other Blue Moon battalions, Blue Moon are becoming my favourite figures. My only thought on the range is, where is the Hungarian Infantry in helmets? Why only shakos?
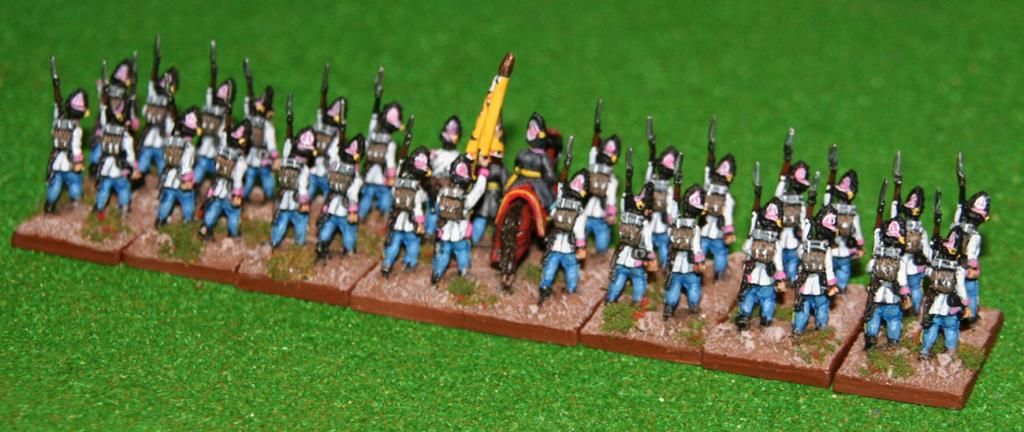
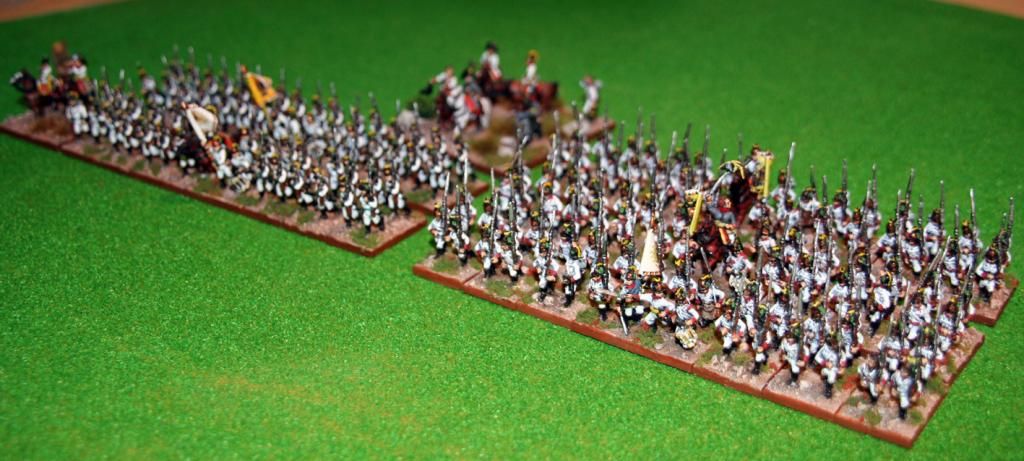
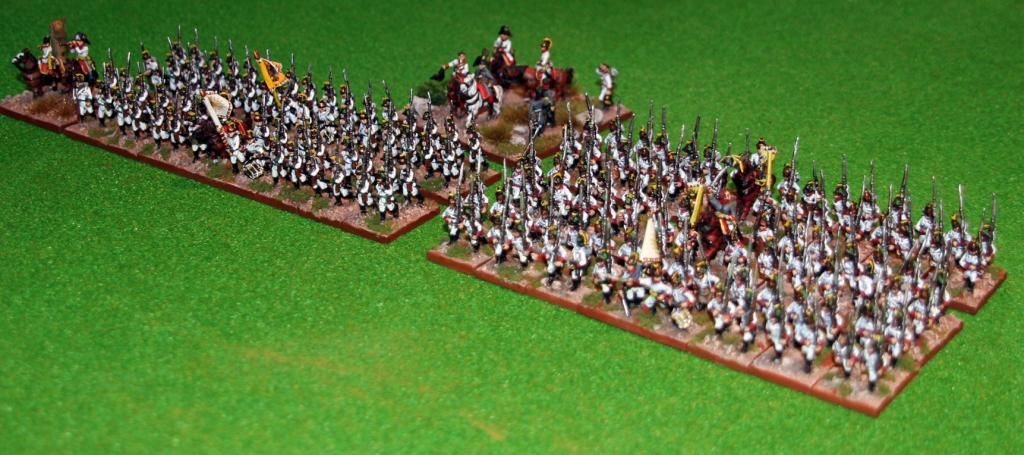
Here are the Blue Moon regiments all together and another picture that shows the great detailing on the breeches.
And as this isn't my first Hungarian Battalion I thought I'd post the Grenadiers alongside the first battalion I painted for this project, the 4th Banat Grenzers. That unit used figures from Warmodelling, and although I'm happy with it, I may get myself a Blue Moon Grenz battalion as well, just because I like their miniatures so much.
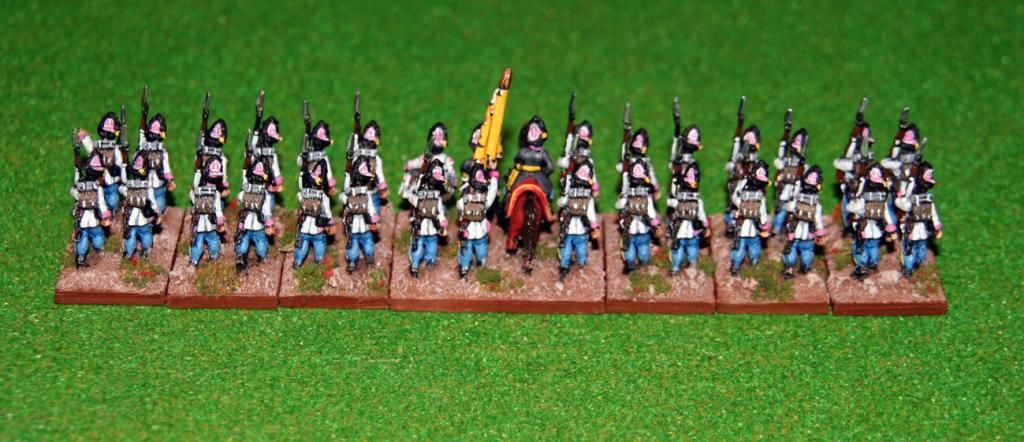
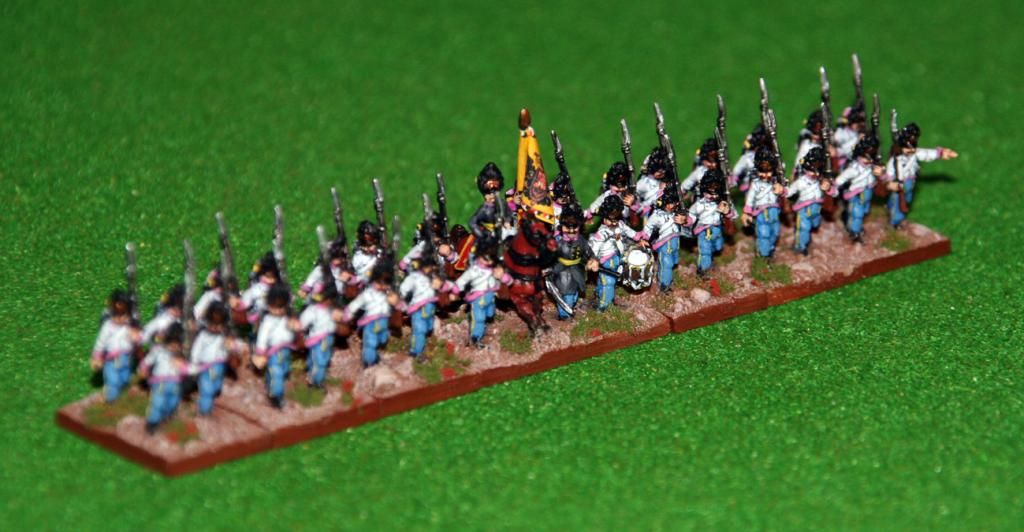
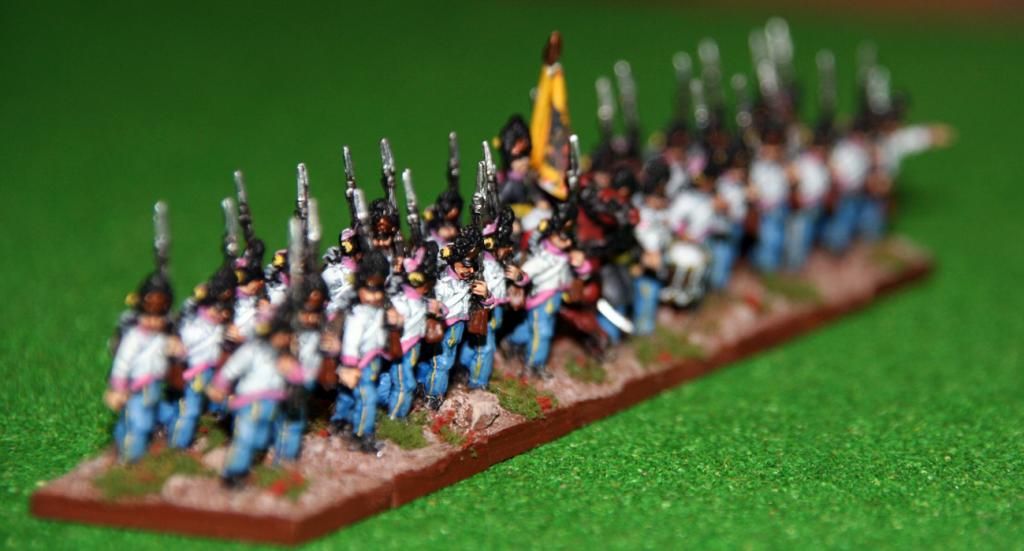
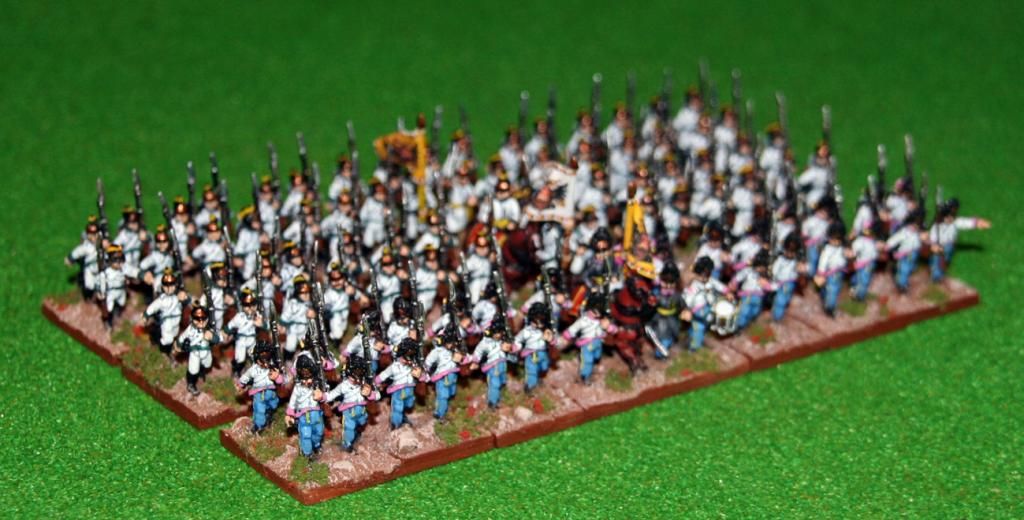
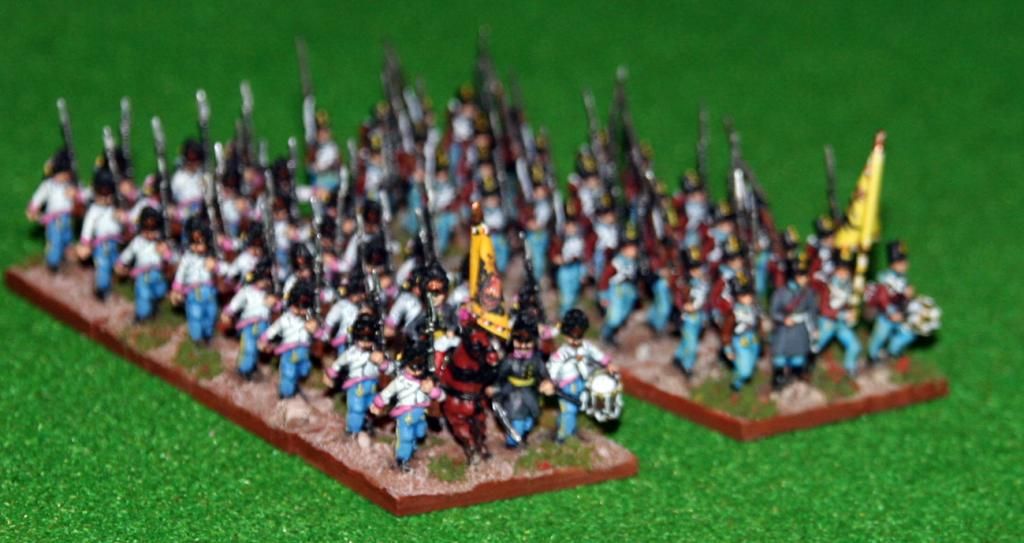
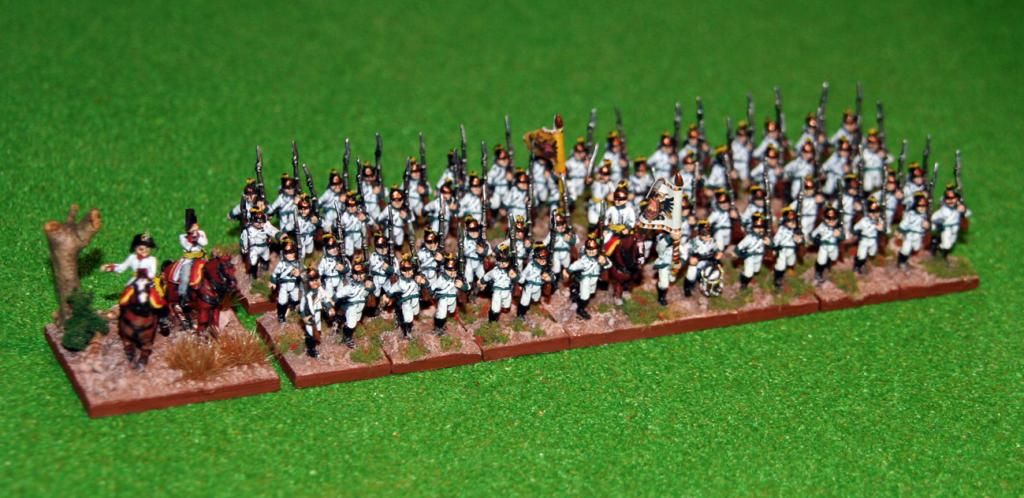
Its been a while since I posted the last battalion of Austrians. I was surprised how long it had been, but I've managed to finish another! This is the 2nd Battalion of IR47 Kinsky. There were only the two battalions at Marengo, so that is that regiment completed. Again, as in the first battalion, I have used the lovely Blue Moon range. I swapped out a base from the first battalion so that each has a base with an NCO.
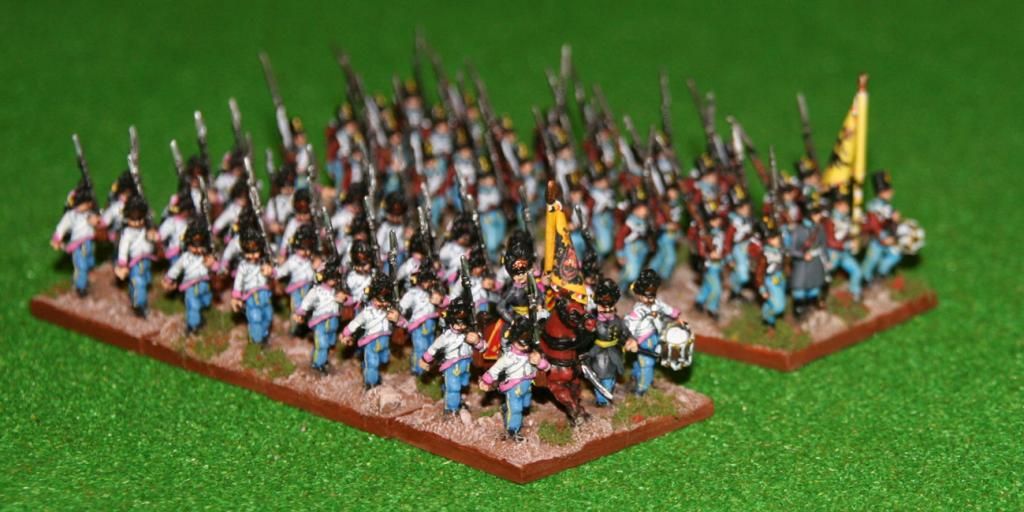
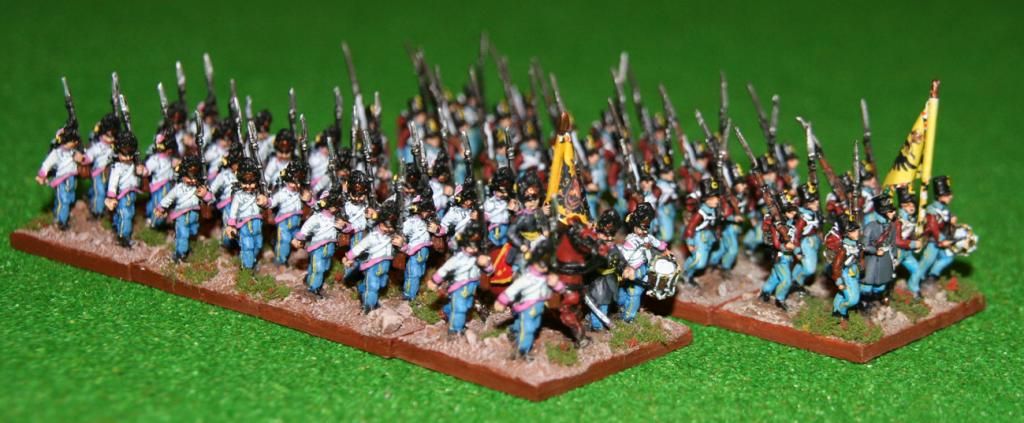
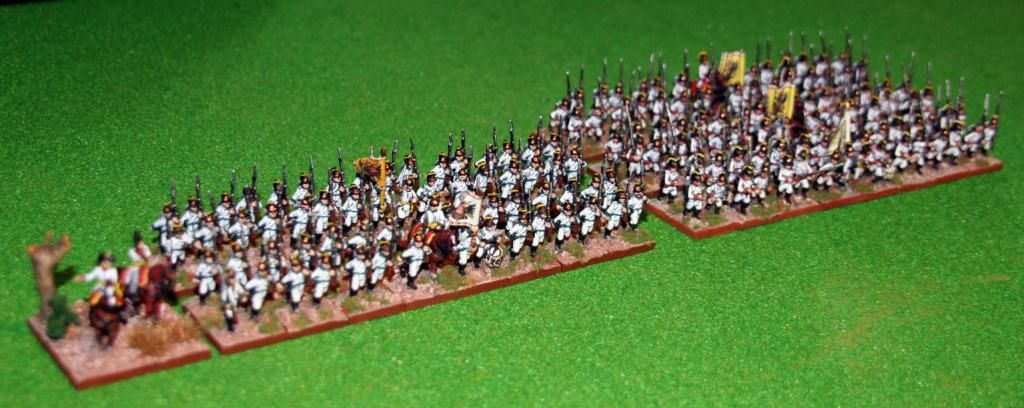
I have just noticed the flagpole isn't finished, but that can be sorted without a problem. Here are the two battalions together.
And here is the infantry contingent of the army so far, just to show off how impressive two the whole complete regiments looks on the table. I still have five more German battalions waiting in the painting queue, plus one Hungarian battalion, but next up before those is a Hungarian Grenadier battalion, again using Blue Moon figures.
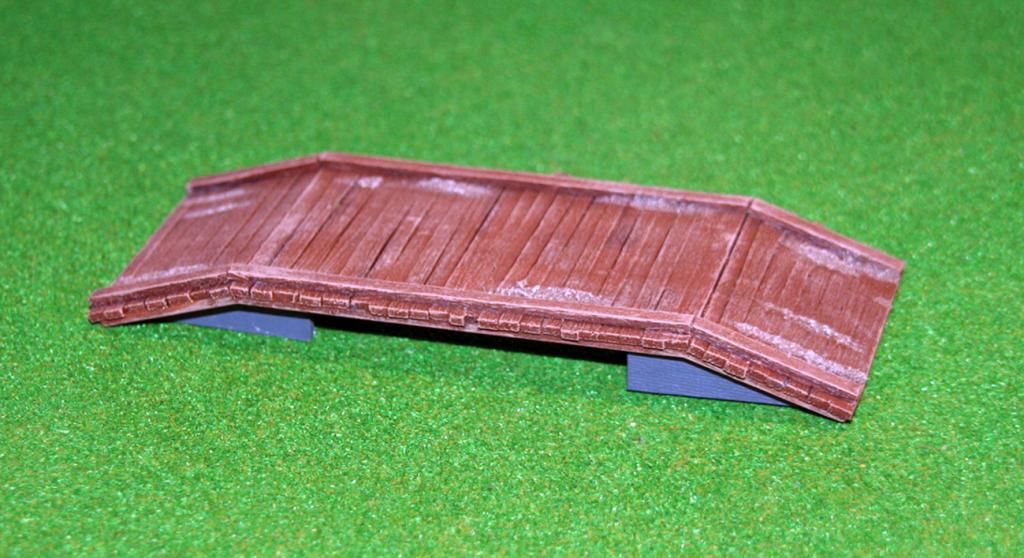
Having sourced, and then repainted, my streams to represent the Fontanone I then had to find a bridge for the Austrian Army to cross. I struggled. There were many bridges that were correct in scale, but were wrong in style or size. My favourite was from Baueda, available from Magister Militum, but it was far too long for the bridge I needed to cross a smallish stream. It was also a bit pricey.
After getting fed up searching for something the ideal height, ideal length and breadth, and ideal style and period, I decided to build my own, or at least give it a try.
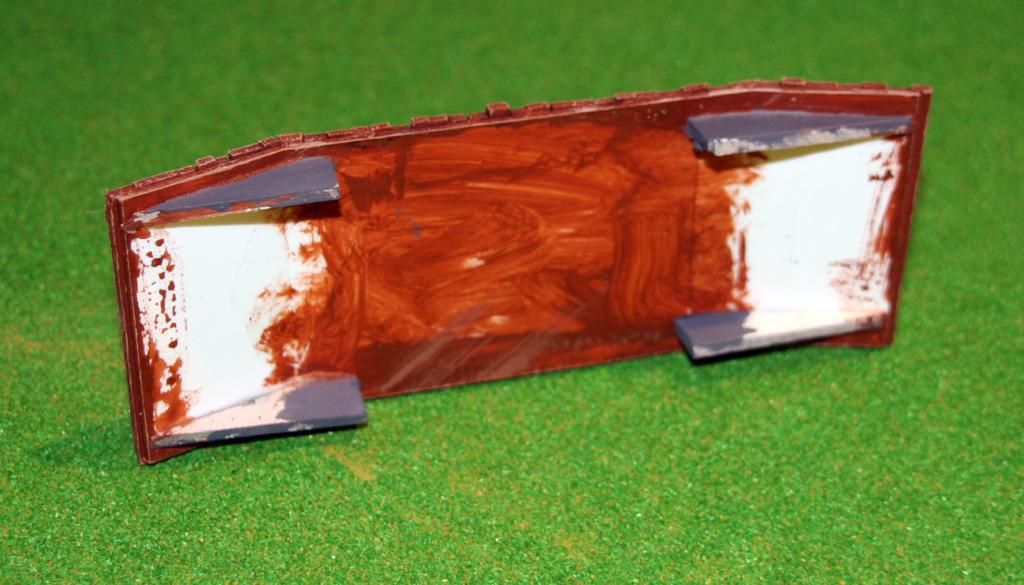
I visited the local art and craft store, purchased a sheet of plasticard and some thin balsa wood strips, and then got out the cutting map. My seven year old daughter decided she would oversee the project and sat giving some good advice.
I cut the plasticard to the size required, then scored across the length at each end, then carefully bent the card to the correct angle for the ramps. I put some sellotape over the seams to hold the plasticard from snapping, then cut four heavy card shapes to hold the angles. These were attached with superglue.
While I was waiting for this to dry, I cut the balsa strips into "planks" which were then glued cross ways across the bridge, again using superglue. I didn't take too much time ensuring each plank was the same width or length as I wanted the bridge to be a bit rough.
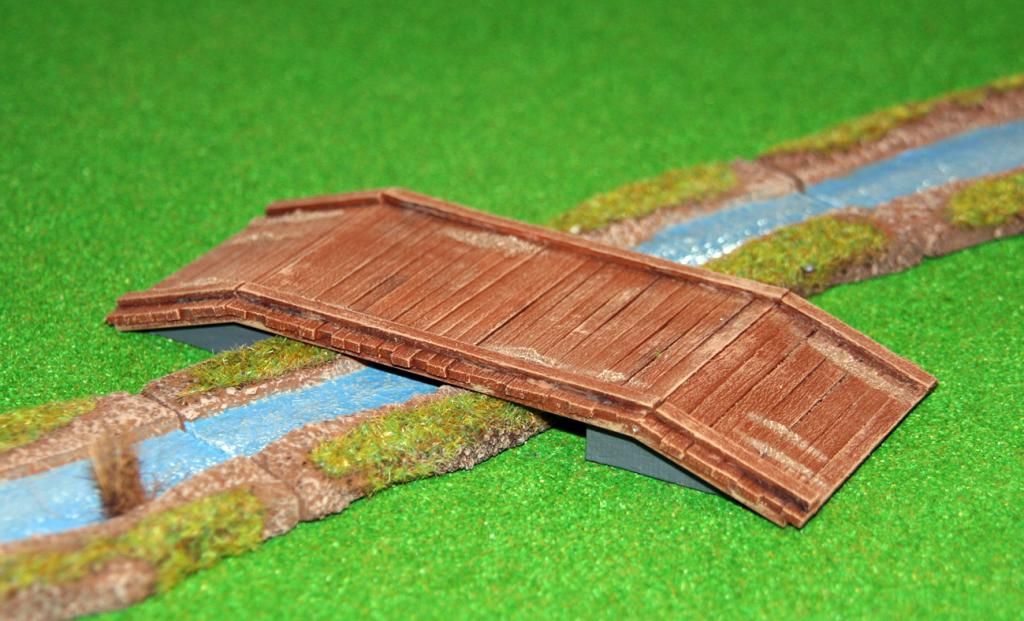
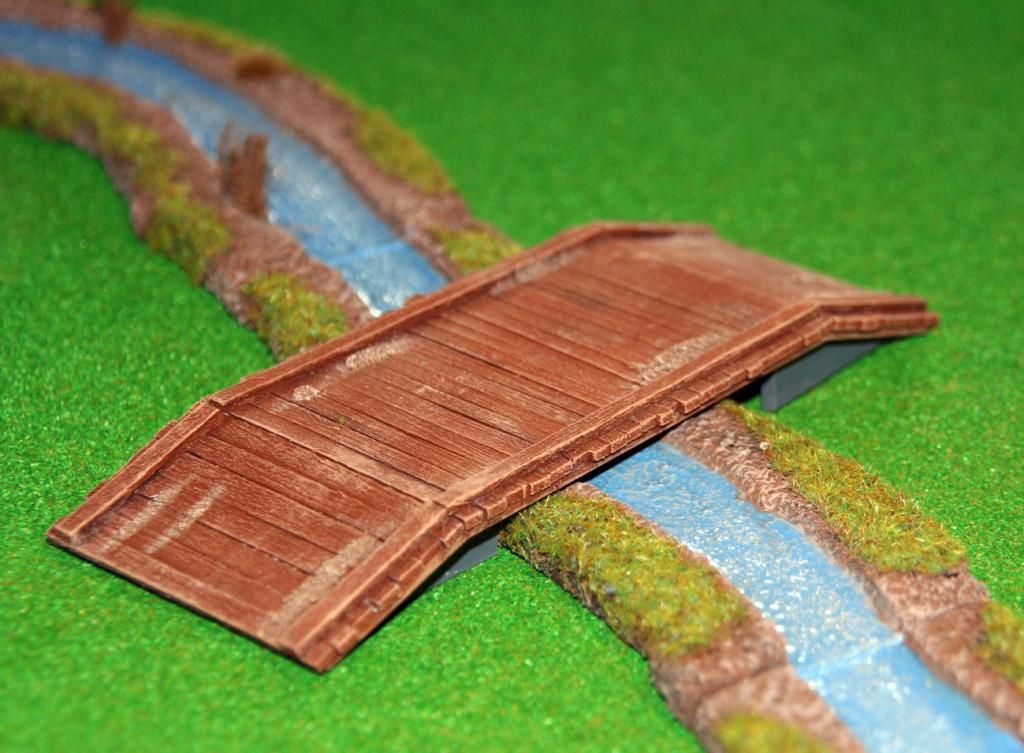
After leaving this to settle for about ten minutes I glued side strips onto the planking using pva woodglue. I left the whole thing to dry for an hour or two, put the kids to bed, then came down and painted the bridge with Games Workshop's Mournfang Brown, let this dry, then drybrushed with the brown plus some white. I added some mud and tracks to make the bridge look well used, gave the whole thing another light drybrush, and it was finished. Allin it was about two hours work and cost about £3, with plenty of spare card and balsa left over.
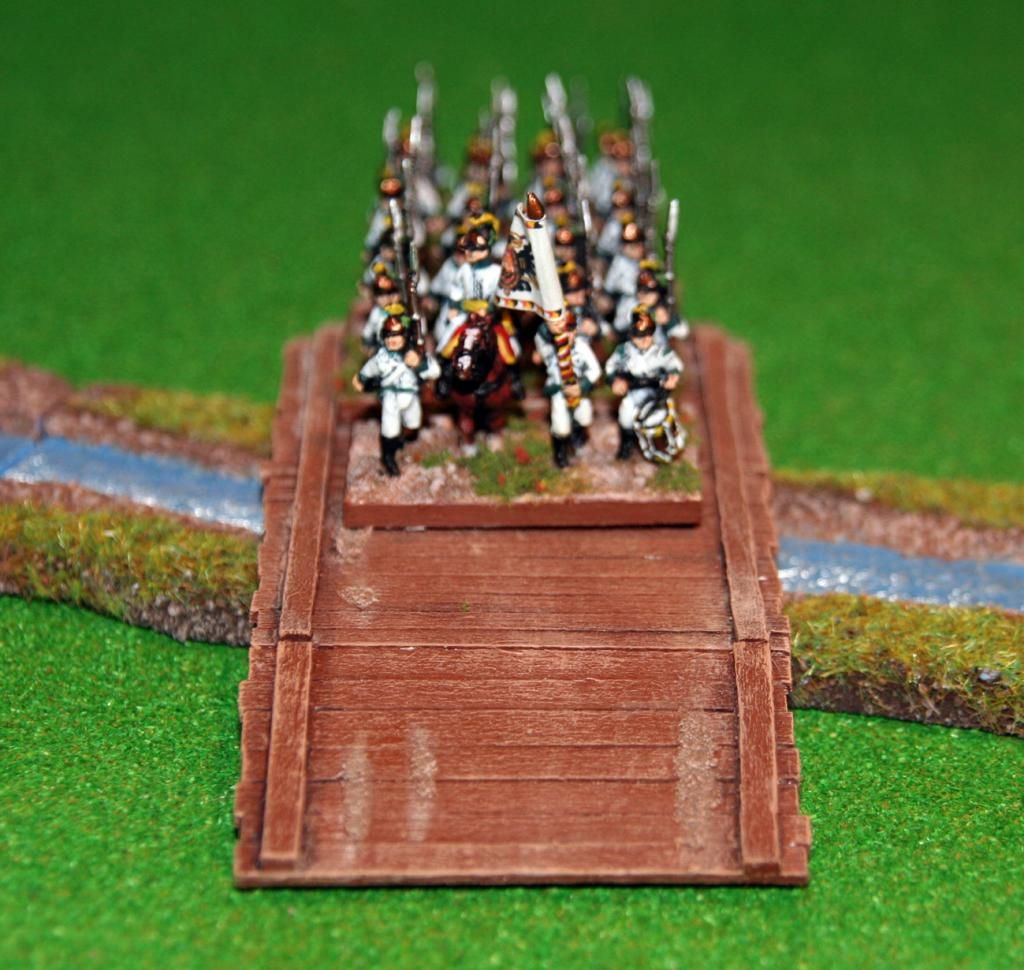
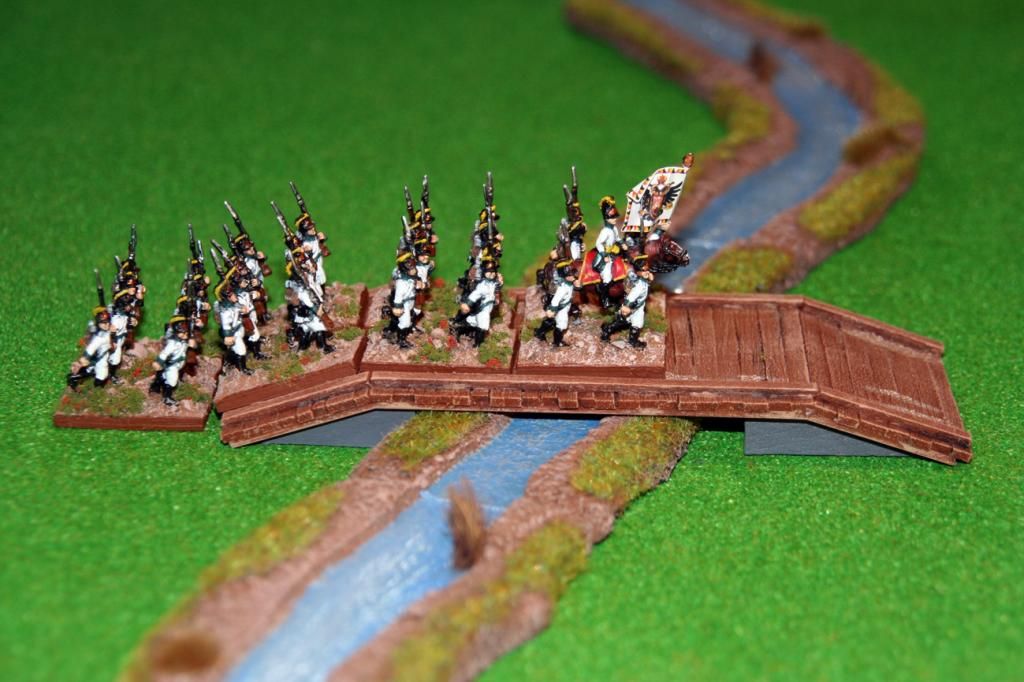
The bridge fits perfectly over my streams from Small_Terrain and is wide enough to easily accommodate a 40mm wide base. I think I need to look at the supporting card under the bridge to find a way of making that look a little better, as its the only bit I'm not happy with.